
HOW TO
Nebula is a drawing app which has a set of tools that all affect each other. This is a guide to what the controls do, and some ideas of how to use them.
The first time you run the app, an animation shows you how to use two fingers to start drawing. From then on, you can draw and then use the controls to change the line colours, thickness opacity and other qualities.
When a button is yellow, that is its normal state. If it’s dimmed, it can’t be selected, and when it is red it means it has been selected and is working. The first button you need to try out is the one that shows and hides the line settings.

LINE SETTINGS
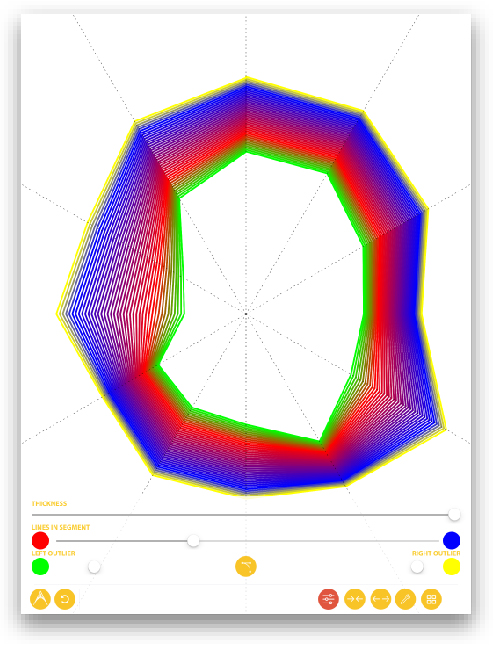
This will bring up the controls for lines. These sliders control the line thickness from really thin to thick. When you tap and drag and release your fingers, we refer to it as a segment. The next slider controls the number of lines in the drawing segments. Continuing to tap and drag adds another segment, and so on. As you move your fingers you will see how the lines are affected. The left and right outliers add more lines to the segment on each side of the lines you first draw.

Along the bottom of the screen are more buttons or tools.
OUTLIERS EXPLAINED
As you draw a segment, you can adjust the outliers, which basically add more lines to either side of what you have just drawn and have a separate colour. They are great fun as you can play around with the colours and opacity and get some outrageous effects.
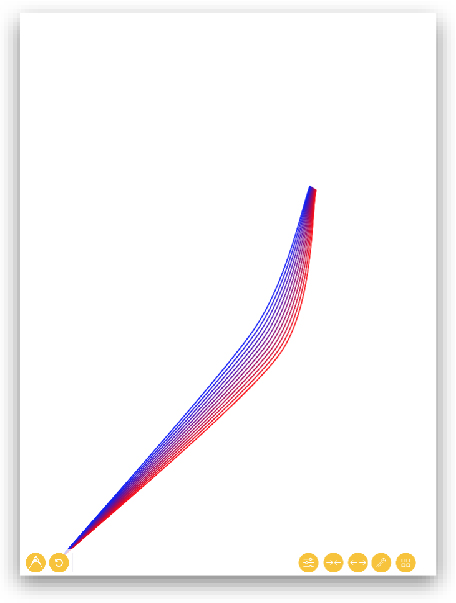
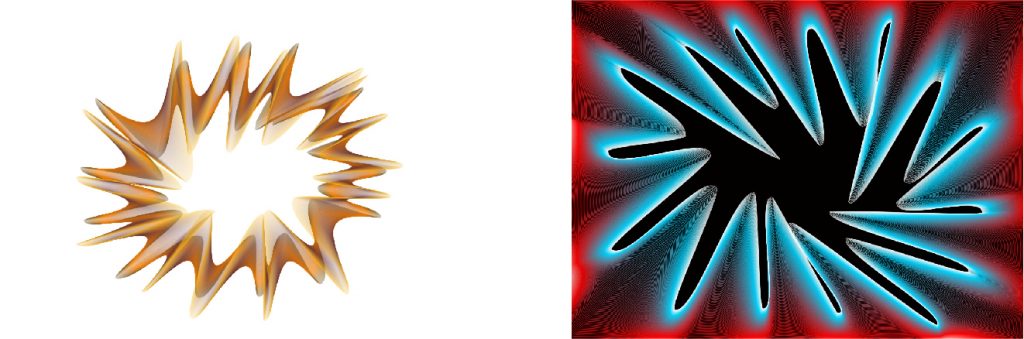
Drawing without the “outliers”
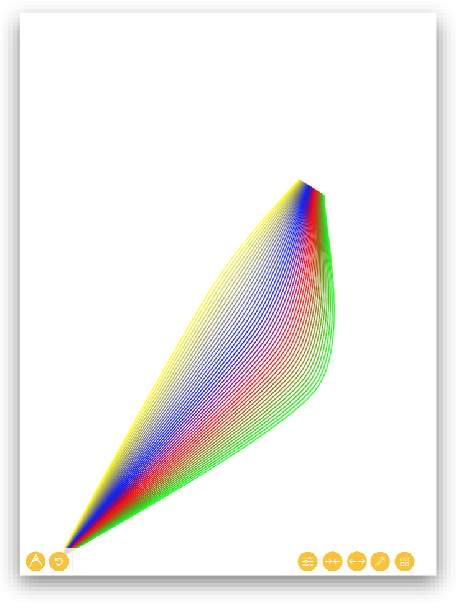
Drawing with both “outliers” added
EXAMPLES OF USING OUTLIERS
With lots of thin lines and just using black and white you can create the illusion of round objects and shininess.

Using outliers with the opacity turned up, you can make a sort of wispy fading style…
Making the outliers very different colours pink and green here, you can create lots of mixtures of rainbows.

TOOLS
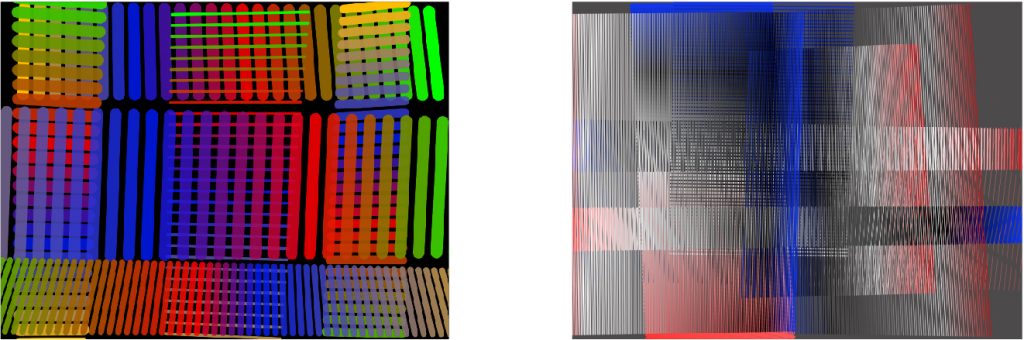
All the extra tools are available to buy as an in-app purchase for a dollar, or about 80p in the UK. The list includes saving as a PDF, a gallery to store and re-edit older drawings, three symmetry tools, a “classic” single tap drawing method, and a random button.

DRAWING MENU
This button brings up a menu to add a new drawing which will replace the current drawing, unless you buy the in-app purchase to enable the gallery so you can return to a drawing at a later date.
You can also change the background colour and share a drawing which also allows you to save it to your camera roll in PNG format or print, and share to social media or any apps that will accept the share from Nebula.
The about button will let you provide feedback or send your pictures to the public gallery.

UNDO
Undo will remove the last segment of lines back to the beginning of your drawing or the last “break” (see below).

TURN ON GRID
There is a grid overlay which will let you more accurately draw if you want to make a particular geometric pattern.

GRID ADJUST
When the grid adjust is turned on you can use two fingers to pinch the grid smaller or larger and then when you turn it off the grid stays on the screen but is not added to the drawing if you share it.
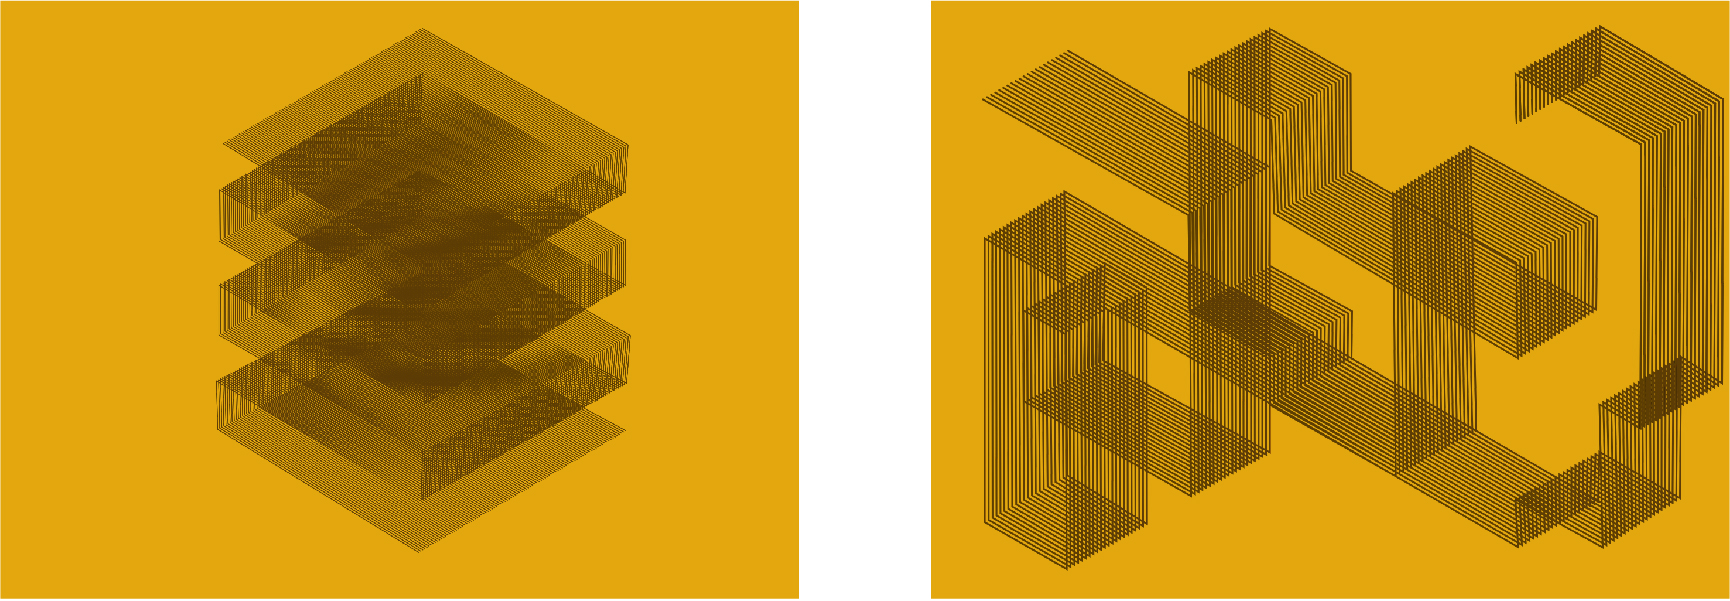
Some examples of using the grid to make accurate drawings.

CURVE BUTTON
You can find this button in the middle of the line controls screen, it switches between curved lines and straight lines in the current set of segments. This means you can mix straight and curved lines in the same drawing after you put a break in the segments.

BREAK BUTTON
This button puts a gap in between the current set of segments and the next so you can layer different sets of line styles and layer a drawing or just put a pause in the drawing and start something different. The line and colour settings apply to the current set of segments, but once you hit break they are set and cannot be undone!

JOIN BUTTON
So you make a drawing and you want to join the last segment to the first segment this will automatically join them! Just so you know, a “join” also includes a “break”. Some people ask me why I have made the design decision I have, and my response is that when tool makers made brushes do you think the artists told them how many horsehairs to put in each brush?
IN-APP PURCHASE TOOLS AND BENEFITS OF PAYING A DOLLAR!

HORIZONTAL SYMMETRY
This button will draw a dotted line across the middle of the screen and your taps and dragging will mirror across the line if you then hit “break” you can turn off the horizontal symmetry and turn on the vertical to layer another segment on top.

VERTICAL SYMMETRY
As the horizontal symmetry button, but at 90 degrees.

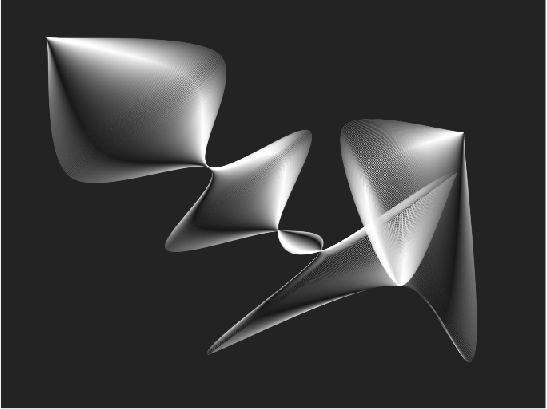
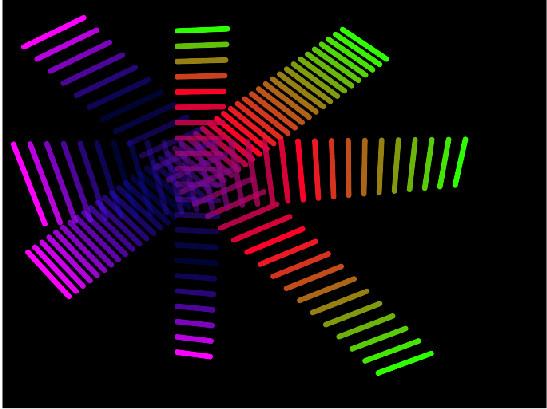
RADIAL SYMMETRY
This is an interesting tool, as you can specify a number of radial segments from 3 to 12.

RANDOM BUTTON
This will draw for you by randomly adding touch points to your drawing each time you press it…
CLASSIC MODE
This allows you to tap once, and then tap and drag the second point of your segment for those of you who upgraded from the first version of Artonics, you may appreciate that this works well with the Apple Pencil for your iPad Pro.
Remember, the tools interact with each other and you can send your comments and suggestions to gordon@artonics-international.com